 CareCard
Your Home Dashboard
The Home Screen — the Welcome Tour, the menus, and your progress.
Home opens when you sign in. It shows what you need to do, and how far along you are.
The Welcome Tour
The first time you sign in, a short Welcome Tour opens. It has six steps. One by one, they highlight the Side Menu, the Institution Selector, the Notification Bell, the Gear, and your Account.
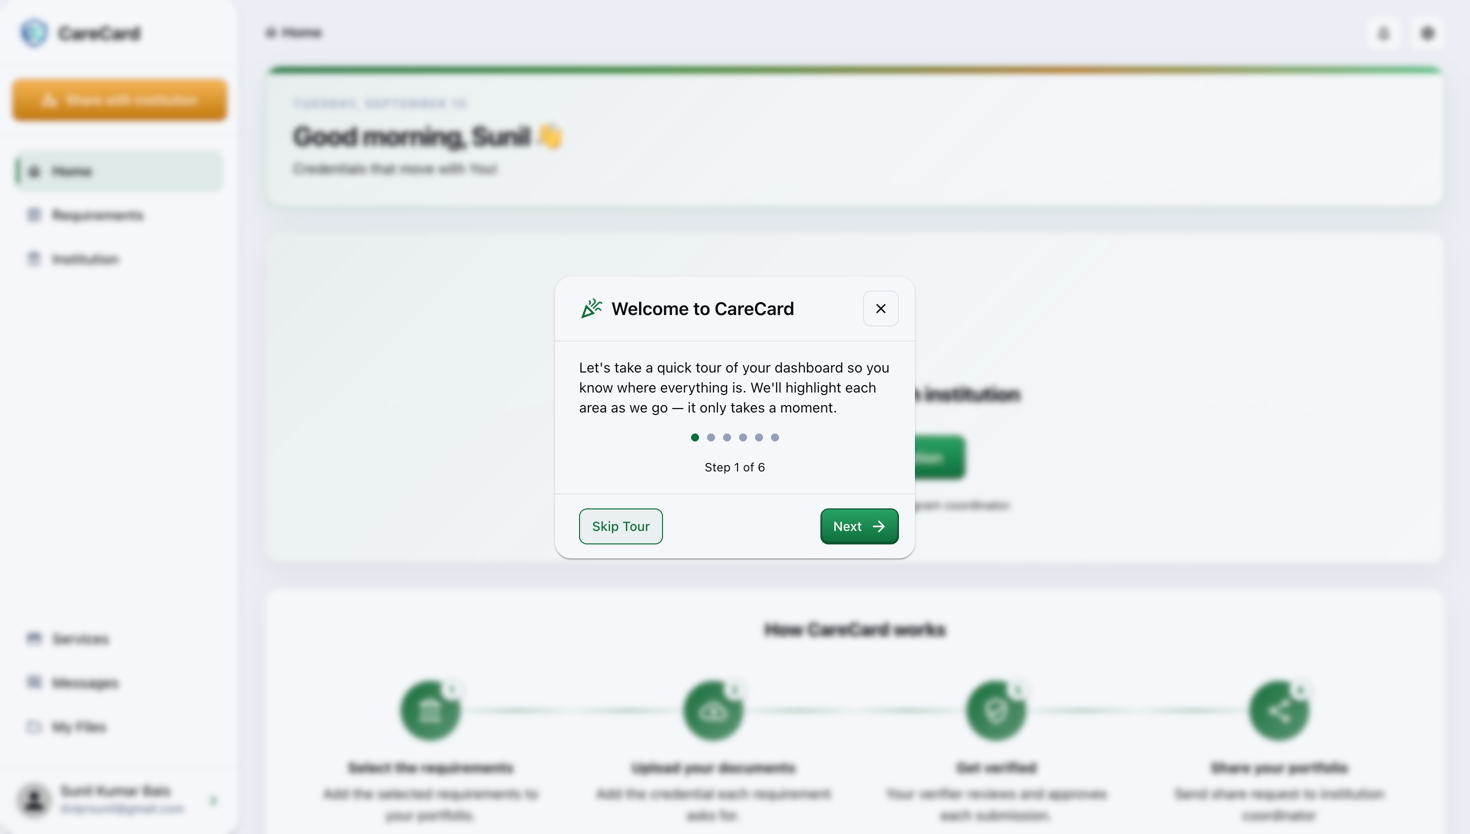
Use Next and Back to move. Use Skip Tour to close it. On the last step, the button says Get Started.
After you finish or skip the tour, it does not come back. It can return if you clear your browser data, or if CareCard makes a new tour. You can turn it on or off with Show onboarding tips in Settings.
The Side Menu
The Side Menu is on the left. On a phone it is hidden — open it with the menu button. From top to bottom:
- Institution Selector — Switch between institutions when you have more than one. (On a phone, it is at the top.)
- Your pages — Home, Requirements, Institution, My Certificate, Services, Messages, and My Files. You only see the pages your role allows.
- Your account at the bottom — Open it for Profile, Settings, Account, and Logout.
Messages shows a red dot when you have unread replies.
The Bell and Gear
Both sit at the top right of every page (in the top bar on a phone).
- Notification Bell — Shows unread messages only. It does not show institution requests. The red number is how many you have not read. Open the bell and pick Messages to read them. To hide the number, turn off New messages in Settings.
- Gear — Change the language (English or Français), change the theme (Light or Dark), or Logout. If you also have staff roles, it lets you switch your view.
Before You Share With an Institution
Home shows a Share your portfolio with institution card instead of your progress.
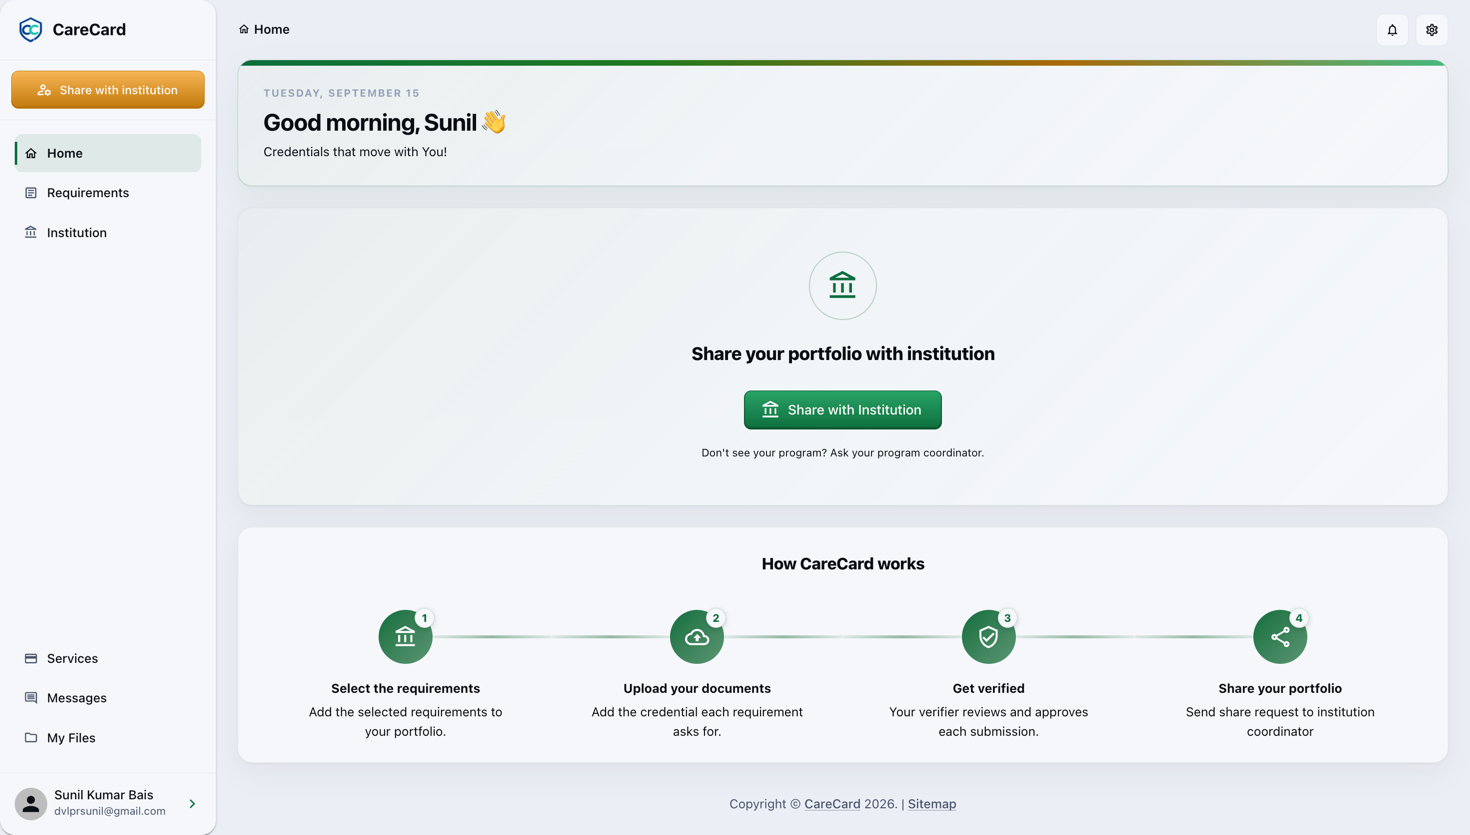
Below it, How CareCard works shows four steps:
- Select the requirements — Add them to your portfolio.
- Upload your documents — Add the file each requirement asks for.
- Get verified — A verifier checks and approves each one.
- Share your portfolio — Send a share request to the institution.
Select Share with Institution to open this box:
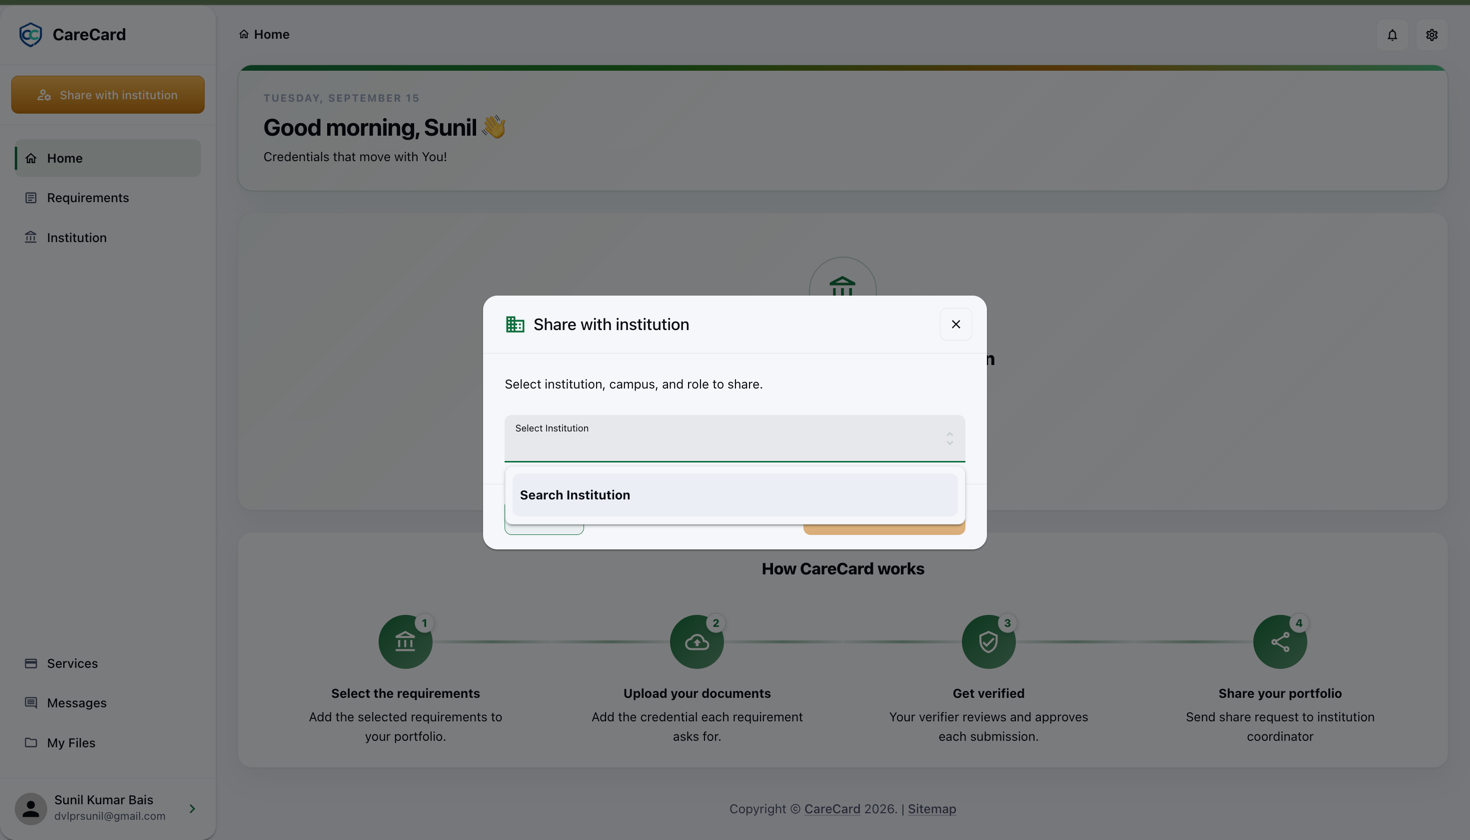
Pick your institution, campus, and role. This works the same as Share With Institution.
What's on the Home Screen
Once you share with an institution and get requirements, the Home Screen shows:
- Welcome card — The date, a greeting, your role, and a Compliant or Action required badge.
- Your credential progress — How far along you are, as a percent and a count for each group: Complete, In review, Needs action, and Not started.
- Recent updates — Your latest decisions and status changes.
What comes next depends on your requirements:
- If some still need work, an Action needed card lists them. Each has an Open, Submit, Renew, or Review button. Submit asks you to confirm first.
- Once every requirement is approved, a You're all caught up 🎉 banner appears, with an Upcoming renewals card. It lists approved requirements that will expire, each marked Due soon or On track.
If you have shared with an institution but have no requirements yet, you see You're all set for now.
Submitted Role Requests
After you share with an institution, Home shows a Submitted role requests section under the welcome card. It lists each request with its role, institution, campus, program, dates, and status. To learn what each status means, see Share With Institution.