 CareCard
Share With Institution
Connect to your institution, campus, and program so CareCard can assign your requirements.
CareCard needs your institution, campus, and program before it can assign your requirements. Sharing with an institution links them. You can still keep standalone files in My Files without this.
How It Works
- Share with Institution — Open the form and choose your institution, campus, program, and role.
- Join Institution — Submit the request; an unverified primary email blocks this. Your program's assigned requirements then appear on the Requirements page.
- Reviewed — A coordinator or admin approves or declines it.
- Approved — Your program access is now active.
Pre-approved? Some institutions give their coordinator a list of expected students in advance. If your email or student number is on it, your request is approved automatically and skips the review.
Share With Your Institution
Before you share, your Institution page shows an empty state, and a Share with institution button sits at the top of the Side Menu.
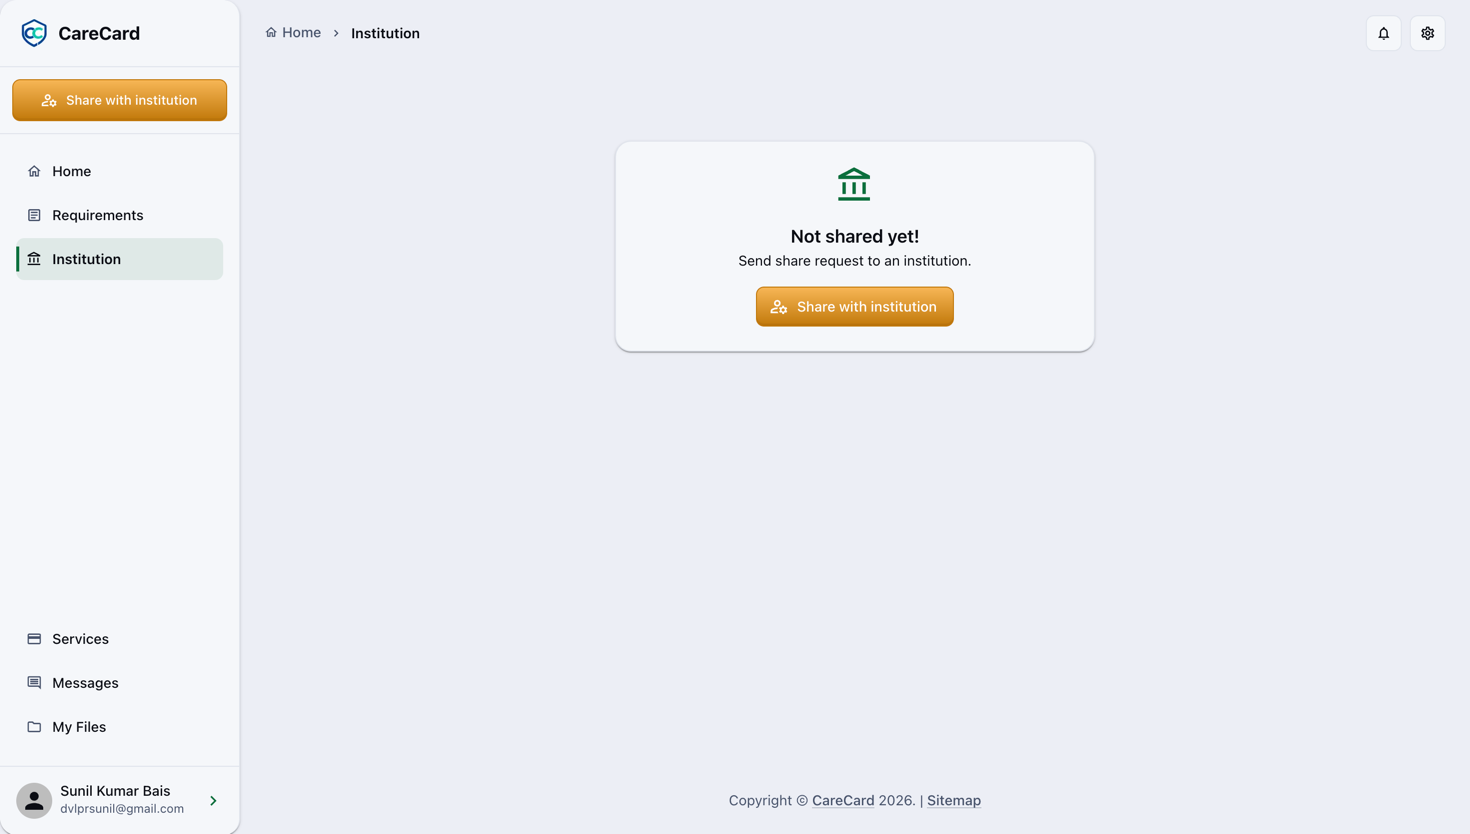
Select Share with institution to open the form. Each choice reveals the next field, so you can't pick a campus or program that doesn't exist:
- Institution — Pick a suggestion, or choose Search Institution to find one by name (type at least 3 characters).
- Campus
- Program year and Program semester — Current and future terms only.
- Program
- Role — Student, Intern, or Volunteer.
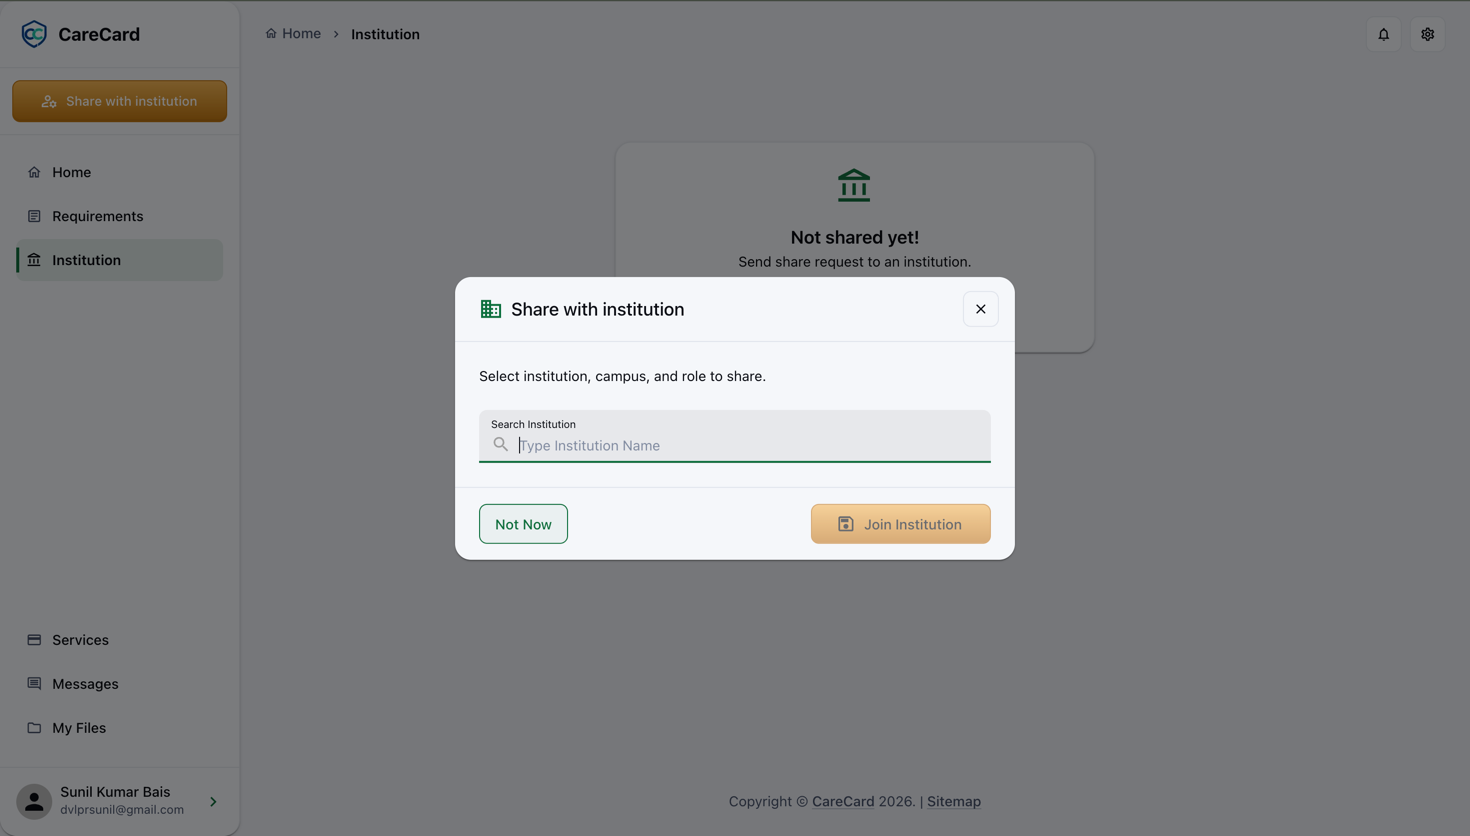
Select Join Institution to send the request.
A verified primary email is required. See Registering if you still need to verify yours.
Check Your Request Status
Track your request under Submitted role requests on Home, or under Pending requests on the Institution page. Each shows one of these:
| Status | What it means |
|---|---|
| Pending | Waiting for review; your requirements already appear on Requirements |
| Info needed | A reviewer needs more from you before deciding |
| Approved | Program access is now active |
| Rejected | The request was not granted |
| Expired | It passed its expiry date with no decision |
| Cancelled | The request was cancelled and is no longer active |
Its ⋯ menu depends on the status: while Pending you can Edit the role; once it's decided you can Hide it (and Unhide it later). You can Delete a request at any time, and bring hidden ones back with Show Hidden. If a reviewer marks it Info needed, reply in Messages — the request stays open.
After You're Approved
Your Institution page now shows:
- Institution information — The institution's name, Type, Category, Status, Website, and Email domains.
- Your memberships — One row per role, with its Campus, Program, and Program terms, each marked Active.
- Pending requests — Any request still in progress.
Continue to Uploading Requirement Documents.